Wreck Site 1: Wreck Tour
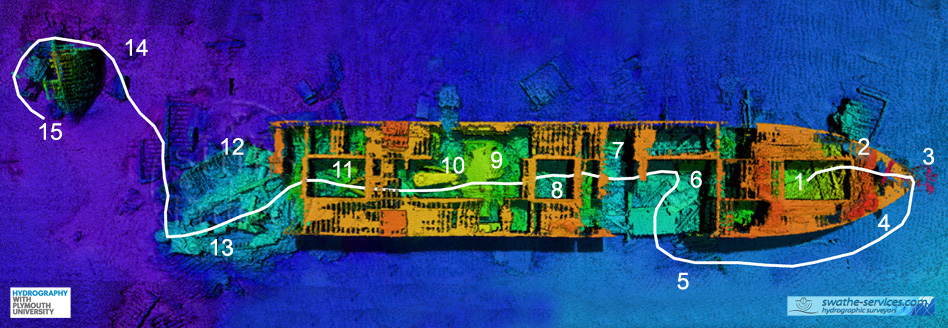
This is a guided tour around the wreck of the James Eagan Layne from bow to stern. A dive on the wreck of the James Eagan Layne used to start on the top of the bow as this was the shallowest point and where the marker buoy was attached. Since the bow is fragile and collapsing the bouy rope has been moved so it is now attached inside Hold #1, so that is where we will start the tour.
Visibility on site can vary considerably, after a storm it can be as little as a metre but after a period of calm weather and when there is little plankton in the water you can very occasionally see 10-15m. The wreck is dark under the overhanging structure so taking a big torch can help, it is also useful for having a look under collapsed ship structure and cargo. It is possible to dive the wreck at most states of the tide but on a big spring tide the current can reach 0.5kt at full flow, a time best avoided by inexperienced divers.
Hold #1
Hold #1 is the one nearest the bow and it is the most intact on the wreck as more remains of the deck above than for the rest of the ship. The deck is not the upper deck on the ship but is the second deck; still there in the 1970s the entire upper deck is now missing although some parts can be seen on the seabed around the hull.
Hold #1 is shallower than the other holds because underneathy is is the deep tank, further storage for dry cargo or liquids. This can be most easily seen by swimming from hold #1 aft to hold #2 as there is a step downwards in the level of the wreck at that point. The bulkheads separating the holds are made up of vertical beams overlaid with thin steel plating, in most areas the plating has corroded away and for many of the bulkheads the beams are disappearing too.
The bottom of Hold #1 is covered in the remains of some of the US Army Engineer's stores that were not recovered by salvors (1). Also can be found the upside down remains of one of the gun platforms that mounted a 20mm Oerlikon anti-aircraft gun, this platform was originally alongside the forward cargo mast. A conical warping drum is also in this hold, this has fallen from the upper deck where it was mounted behind the gun platform and was used when mooring the ship.
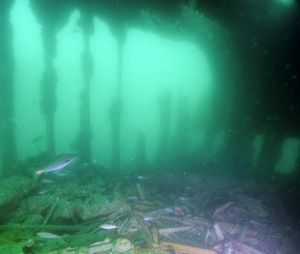
Hold #1 from the inside (1)
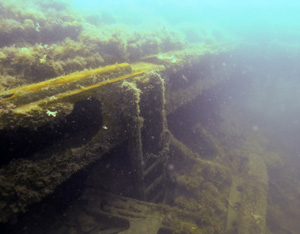
Ladder from Hold #1
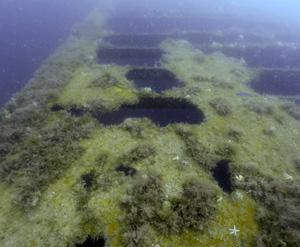
Remains of the second deck plating
Bow - Second Deck Level
Heading forward, up and out of hold #1 you come up to second deck level. Here you find the anchor windlass lying on its side, collapsed down from the upper deck (2). The windlass was used to haul up the anchors by their chains and was fitted on the upper deck on the bow, under the forward 3in gun mounting.
Further forward you can see the remains of the bow of the ship, the stem is intact to the full height of the vessel so the now missing upper deck would be at the level of the top of the stem post (3). Only a few metres of the bow plating remain above second deck level but both hawse pipes for the anchor chains are still in place.
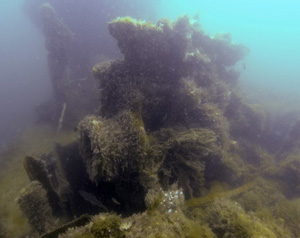
Collapsed anchor windlass (2)
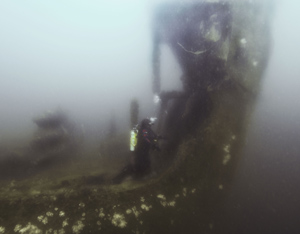
The remains of the bow (3)
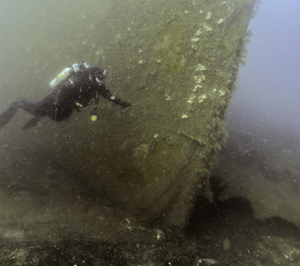
The bow at seabed level (4)
Bow - Seabed Level
Dropping down the front of the ship you can see what remains of her iconic bow, despite the collapse it is still an impressive sight from the seabed looking up. The remains of the forward mast house can be found lying upside down on the seabed just off the port bow, with the massive 50 ton cargo boom poking into the seabed. The seabed around the ship is a mix of coarse sand, fine sand and shell on top of gravel, but large areas of big scallop and oyster shells can occasionally be seen in scoured out areas. The ship itself lies in a shallow depression or scour pit that is formed by the action of waves and currents, the scour around the bow changes with each storm so how much of the forefoot of the ship you can see changes too. Sometimes the scour is so deep that you can see the skeg on the forward end of the keel and when it is really deep you can see right under the hull. Wreckage from the ship and trawl gear can be seen jammed under the hull (4).
Moving aft on the seabed along the starboard side you come to a gap in the side of the ship in Hold #2. here the hull plating has collapsed outwards and you can clearly see the ripped and folded steel frames and plates from which the ship was built (5).
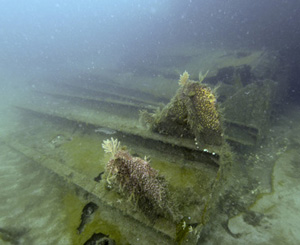
Starboard side plating on the seabed (5)
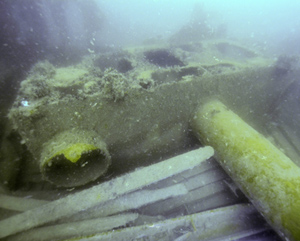
No. 2 Mast house in hold #2 (6)
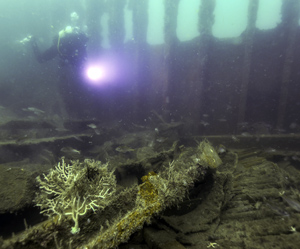
Hold #2 from the inside
Hold #2
Heading up into Hold #2 you go over the remains of the second deck that has dropped from above into the hold below. You can also see a set of bitts used for mooring the ship, thse are attached to remains of the upper deck that have also fallen down.
Also in the hold is a mast house and the remains of the middle cargo mast, the mast that stood between holds 2 and 3 and the one that was visible on the surface for many years (6). The forward mast house is lying on the seabed on the port side by the bow. Two cargo winches lie upside down at the forward end of this hold, there were four of these steam-powered winches around the base of each cargo mast which were used for traversing the mast booms and hauling up cargo from the holds.
The floor of hold #2 is also covered in cargo that was not worth salvaging, such as large cauldrons for army field kitchens. Until recently the bottom was full of sediment but since the severe storms of 2014 hold #2 was washed out so far more of the cargo can be seen, and under the cargo the thick wooden planks that were used to line the hold (7). Heading aft you pass another cargo winch on the port side of the ship before passing into hold #3.
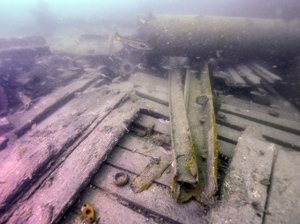
Timber planks lining the hold
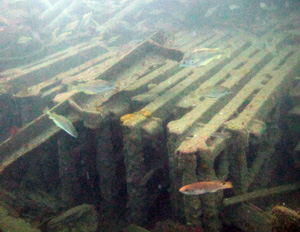
Cargo in hold #2 (7)
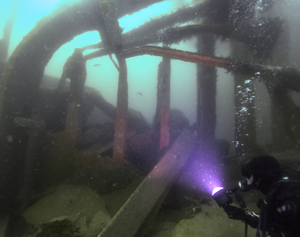
Hold #2 bulkhead collapsing
Hold #3
The deck above hold #3 collapsed down on the port side in 2014 and the year before the bulkhead between hold #3 and the engineroom first collapsed on to the boilers then disppeared in a storm (8). The large spoked wheels that are often thought to be agricultural machinery are from large mobile fire extinguishers used on airfields, the extinguisher part was recovered by salvors as each cylinder contained a lot of non-ferrous metal.
Engine Room
The bulkhead between hold #3 and the engine room has now gone completely so when swimming aft you first come across the remains of the two square boilers jammed up against the two large fuel settling tanks, one on each side of the ship (9). The boilers sit either side of the centreline of the ship with the casing missing and the steam generating tubes exposed. The most notable feature is the cylindrical steam drum mounted on the top of each one. Storms in recent years have cleared away most of the structure that had collapsed inside the engine room so the engine is now easily seen. The engine is an old design, a triple expansion steam engine (10), out of date when the ships were built but used as they were very reliable and easy to maintain for inexperienced crews. The massive engine is now delicately balanced on broken struts and appears to be held up by the rods connecting the shaft to the three pistons. In 2013 a split appeared in the engine room on the port side which has got wider in recent years as the hull plating has collapsed. Behind the engine on the starboard side it is possible to drop into a void space and peer under the deck of the engine room.
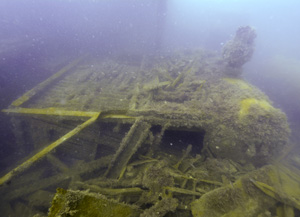
Square boiler in the engine room (9)
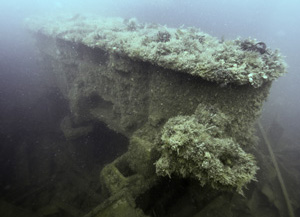
Triple expansion steam engine (10)
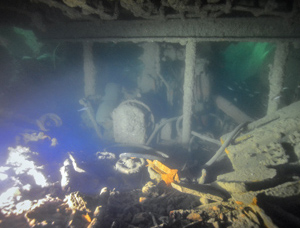
Underneath the engine room
Hold #4
The stern end of the engine room is still somewhat enclosed with the second deck beams intact over much of it and hold #4. Heading aft from the engine room through the remains of the bulkhead you enter hold #4 which still contains a lot of cargo (11).
Hold #5 Debris Field
The torpedo from U-399 hit the ship between Holds #4 and #5 and this is where the main structure of the ship ends; the whole of hold #5 has collapsed and lies in a heap at the stern.
The aft mast house (12) and mast that were between holds 4 and 5 now lie on the seabed with the mast intact and pointing to the east, complete with the distinctive triangular mast top. Just aft of the triangular mast top the broken propeller shaft heads under the wreckage to the south (13). The propeller shaft was broken when the torpedo hit the ship but the propeller end has been dragged sideways and now lies at an angle to starboard. The shaft tunnel that ran from the engine room to the stern now only exists in a few places as the rest has eroded away. Following the prop shaft to the end you can see the flange where the huge bronze propeller would have attached before it was recovered by salvors.
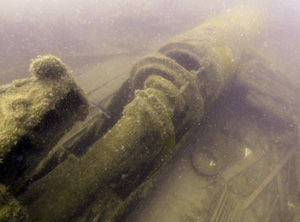
Propeller shaft and shaft tunnel (13)
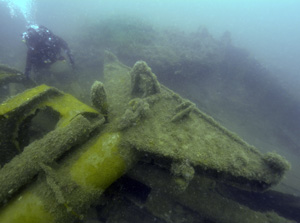
Top of the aft cargo mast in Hold #5
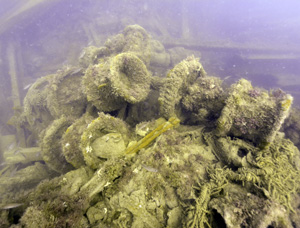
Remains of a cargo winch
Stern Section
Heading north-west from the end of the prop shaft takes you across the ship to the port side. The trail of debris leads west to the remains of the broken off stern of the ship; when sand levels were higher some years ago the stern was hard to find but since the sebed level has dropped a trail of debris now leads towards it. The stern section is just the upper part, the lower part including the propeller and rudder remained with the main part of the ship and lie to the east. The stern section is lying on its port side with the deck at right angles to the main hull, it is thought that the stern was separated from the main hull when the ship was moved the day after she was beached in March 1945. At the time the damaged ship was afloat forward but flooded and hard aground at the stern, all the weight of the aft end of the ship was on the prop shaft, keel and rudder so the aft end is likely to have been partly buried in the seabed. On the morning after she was beached three tugs attempted to refloat the ship, but all they succeeded in doing is rotating it 20 degrees to starboard and breaking off the stern in the process.
The upper stern section is largely intact, the stern was prefabricated as one unit forming a very strong structure as were the bows of these vessels, so the bow and stern ends of Liberty ships often survive when the remainder has broken to pieces. The only remaining deck structure on the ship can be found at the stern where the remains of the accomodation block, an intact cable drum and the stern 5in gun mounting can be seen (14). The mooring bitts on the top of the stern structure show where the original upper deck level was. The fixed base ring of the gun mounting can be found on the upper deck while the matching moveable gun platform lies upside down on the seabed below (15), the gun itself probably salvaged in the 1960s. To the north-west of the stern is the upside down remains of one of the gun platforms that mounted a 20mm Oerlikon anti-aircraft gun.
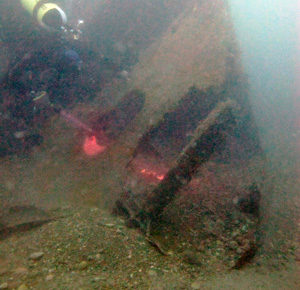
Stern section at deck level (14)
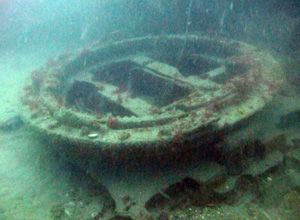
5in Stern gun mounting on the seabed (15)
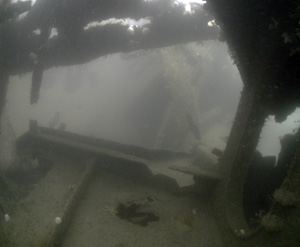
Inside the stern section (Mark Milburn)
![]() If you can provide more information about this then please contact us.
If you can provide more information about this then please contact us.

